al%20Garden%203.jpg"); background-position: center; background-repeat: no-repeat; background-attachment: fixed; -->
Showing posts with label recycling. Show all posts

Thursday, 19 April 2012

BLESS BE THE TIES THAT BIND PART 4

I made an inverted the white card is easier to see

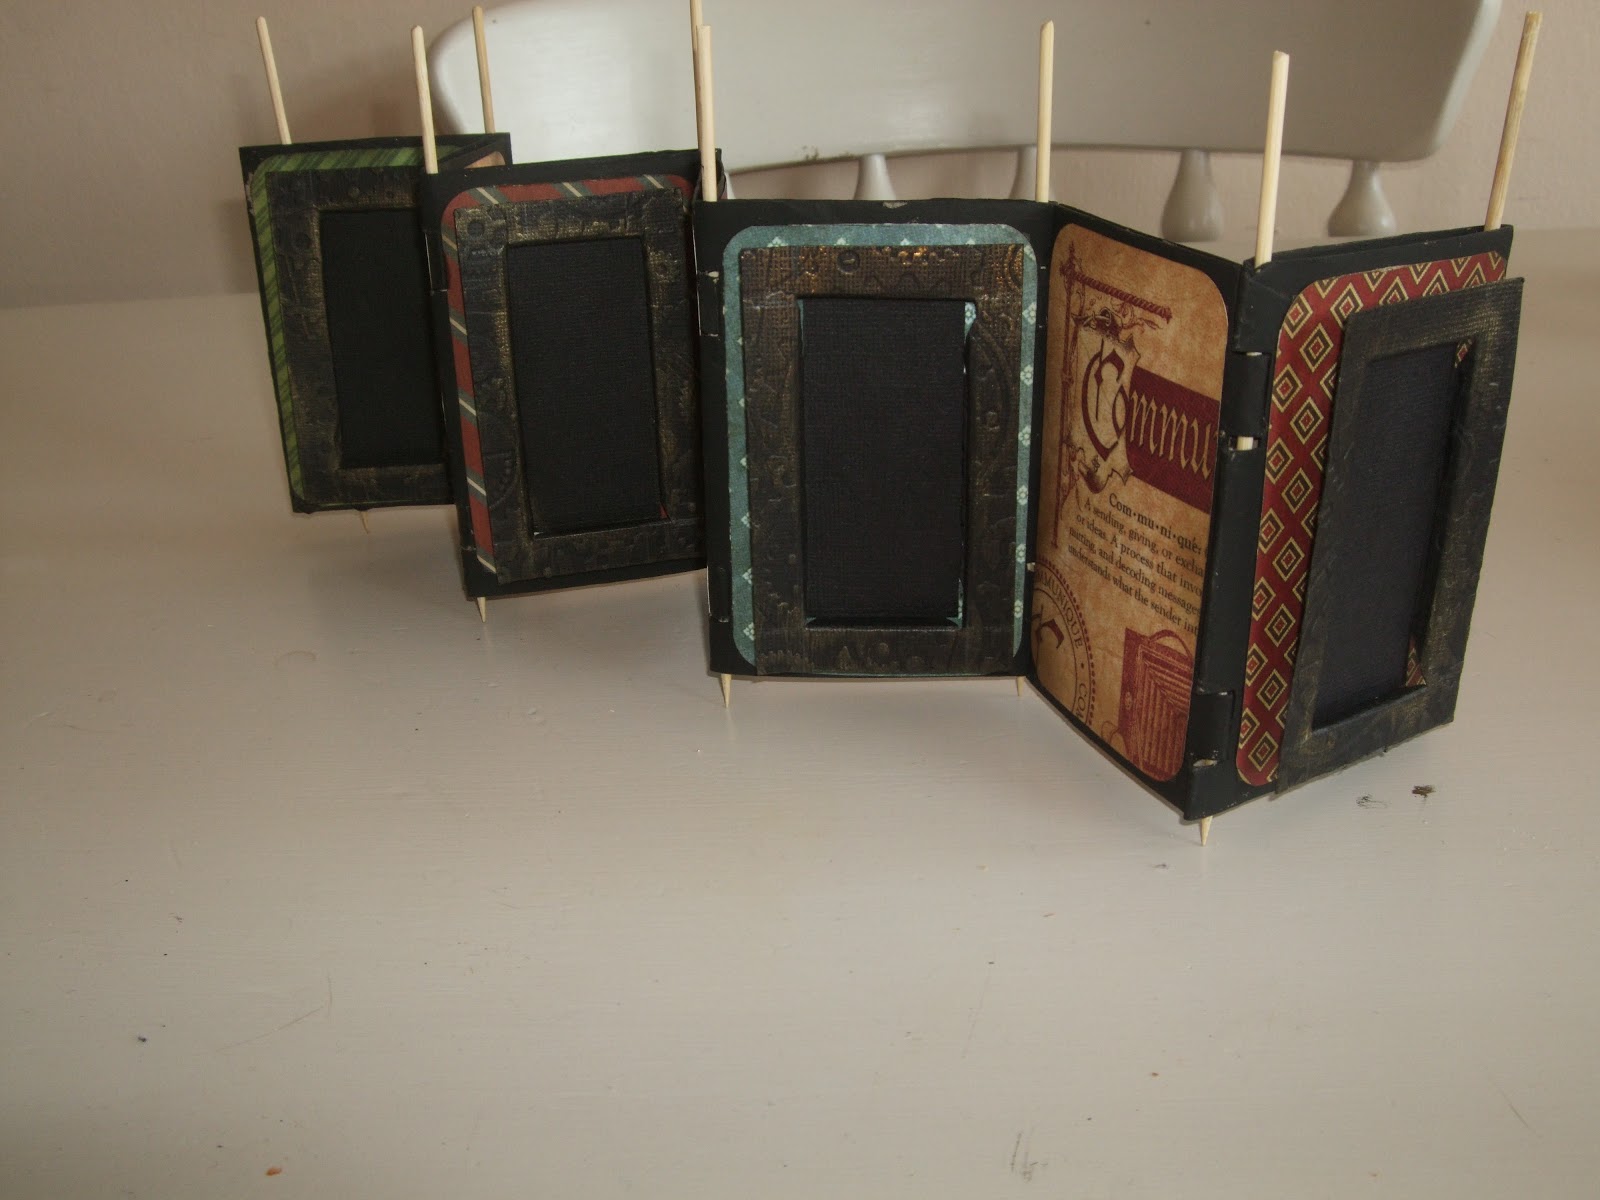
The 1cm frame then I scored at a 1/2cm all around inside, and the again at another 1/4 cm folding into a frame

I used a piece of plain card stock to form a base

I cut and inked the edges of back ground paper from G45


The beads where added for feet and toppers


Today I have managed to get the basic structure together and covered front and back.  Yes for me a step nearer completion but still a lot to do and a lot to neaten and fix 

Friday, 6 April 2012

Blessed be the ties that bind (continued) part 3


Today I'm making ends for the screwer's these will change slightly as the TPR CHALLENGE progresses I use simple paper bead methods ....


 I started with plain cheap thin with card (or photo copier paper) cut to 11 inches by 8 inches


For the first size I marked at every inch..


Now along the bottom edge I marked every half inch..


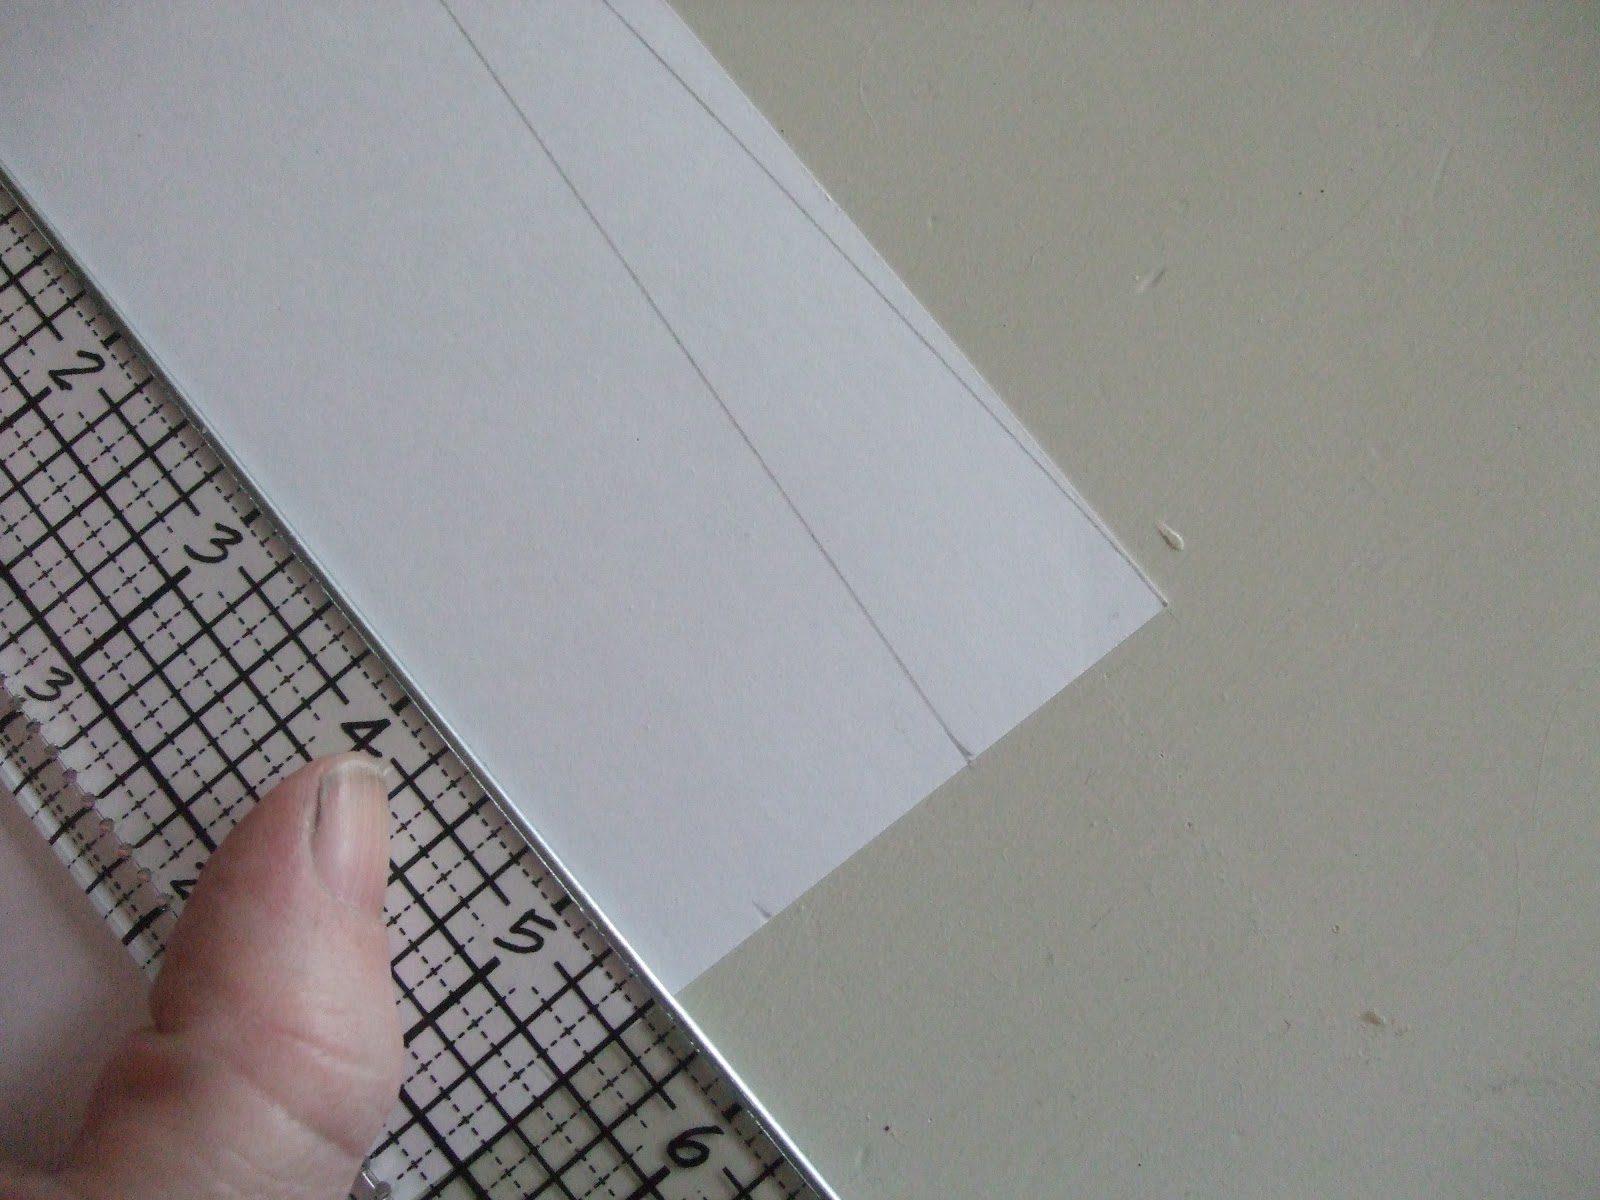
Line the first half inch mark up with the ruler to the outer edge on the inch side of paper 


Now draw a line from the inch mark to the same half inch mark forming a long triangle..


Continue joining the marks in this way creating a page of triangles....


Now cut cut the triangle out ~I use scissors


I wanted a plain bead one colour, so making a pattern was not need for these, I used a marker that would not bleed


All that is needed is a line of colour down each side of paper..


using the screwer so that it will fit with out problems when I come to put it all together, roll it tightly until all the paper is around the screwer 


Have white glue ready to attach and keep it rolled 2 inches before the end..


Don't worry about it spilling over the bead it will dry clear and it will be sealed with a glassy accents when decorated later.


The smaller bead is done exactly the same way only the measurements are half inches, and quarter inches.


Fingers a mess again!!!!
hay hoe
there you go



What happened next(number 2)

Hi, what happened next?


So it will all fit  together after decorating easily, I numbered each roll in order.


Then I removed the screwer's to make it easier to work with..


Down to the messy stuff now! Paint....


I am a very messy worker :(
I'm still taking care to keep them in order

Friday, 30 March 2012

101 WAYS TO RECYCLE TOILET PAPER ROLLS number 1 part 2

Stack  the  deck by Laura Dennison 


This project was fun it took three rolls and just scraps of paper
its purpose is to put some very romantic pictures of vintage ladies,
they are very  small so  will tuck into these spaces very well.

I have to do something dark and scary next?


Thursday, 29 March 2012

Micro mini with G45 Paper and TPR number 1


Weight loss ????
eight stone off but 5 more to lose
I don't look like this any more
more like this
yes I'm gettin HOT HOT HOT again

here is the first page of Micro mini toilet paper roll book


The paper is Graphic 45 Baby 2 Bride Collection


It is inked with Distress Ink Tattered Rose


and antic gold gilding paste(rubbin buff)

Tag booklet is cut with this x cut die


Post finished book very soon its nearly done promise

see some more
I added metal corners to these  small pockets a feather and some bling


Small belly bands form a place to slip pics


Its coming....the rest off it that is....


Clare had to remove Major as usual he wanted to join in he does not look too pleased does he?